Are you ready to dive into the world of DIY skincare? Making your own beeswax hand salve is a delightful activity that not only nurtures your skin but also allows you to customize the ingredients to your liking. With just a few natural components, you can create a soothing salve that your hands will thank you for. Let’s get started!
Here’s What You’ll Need:
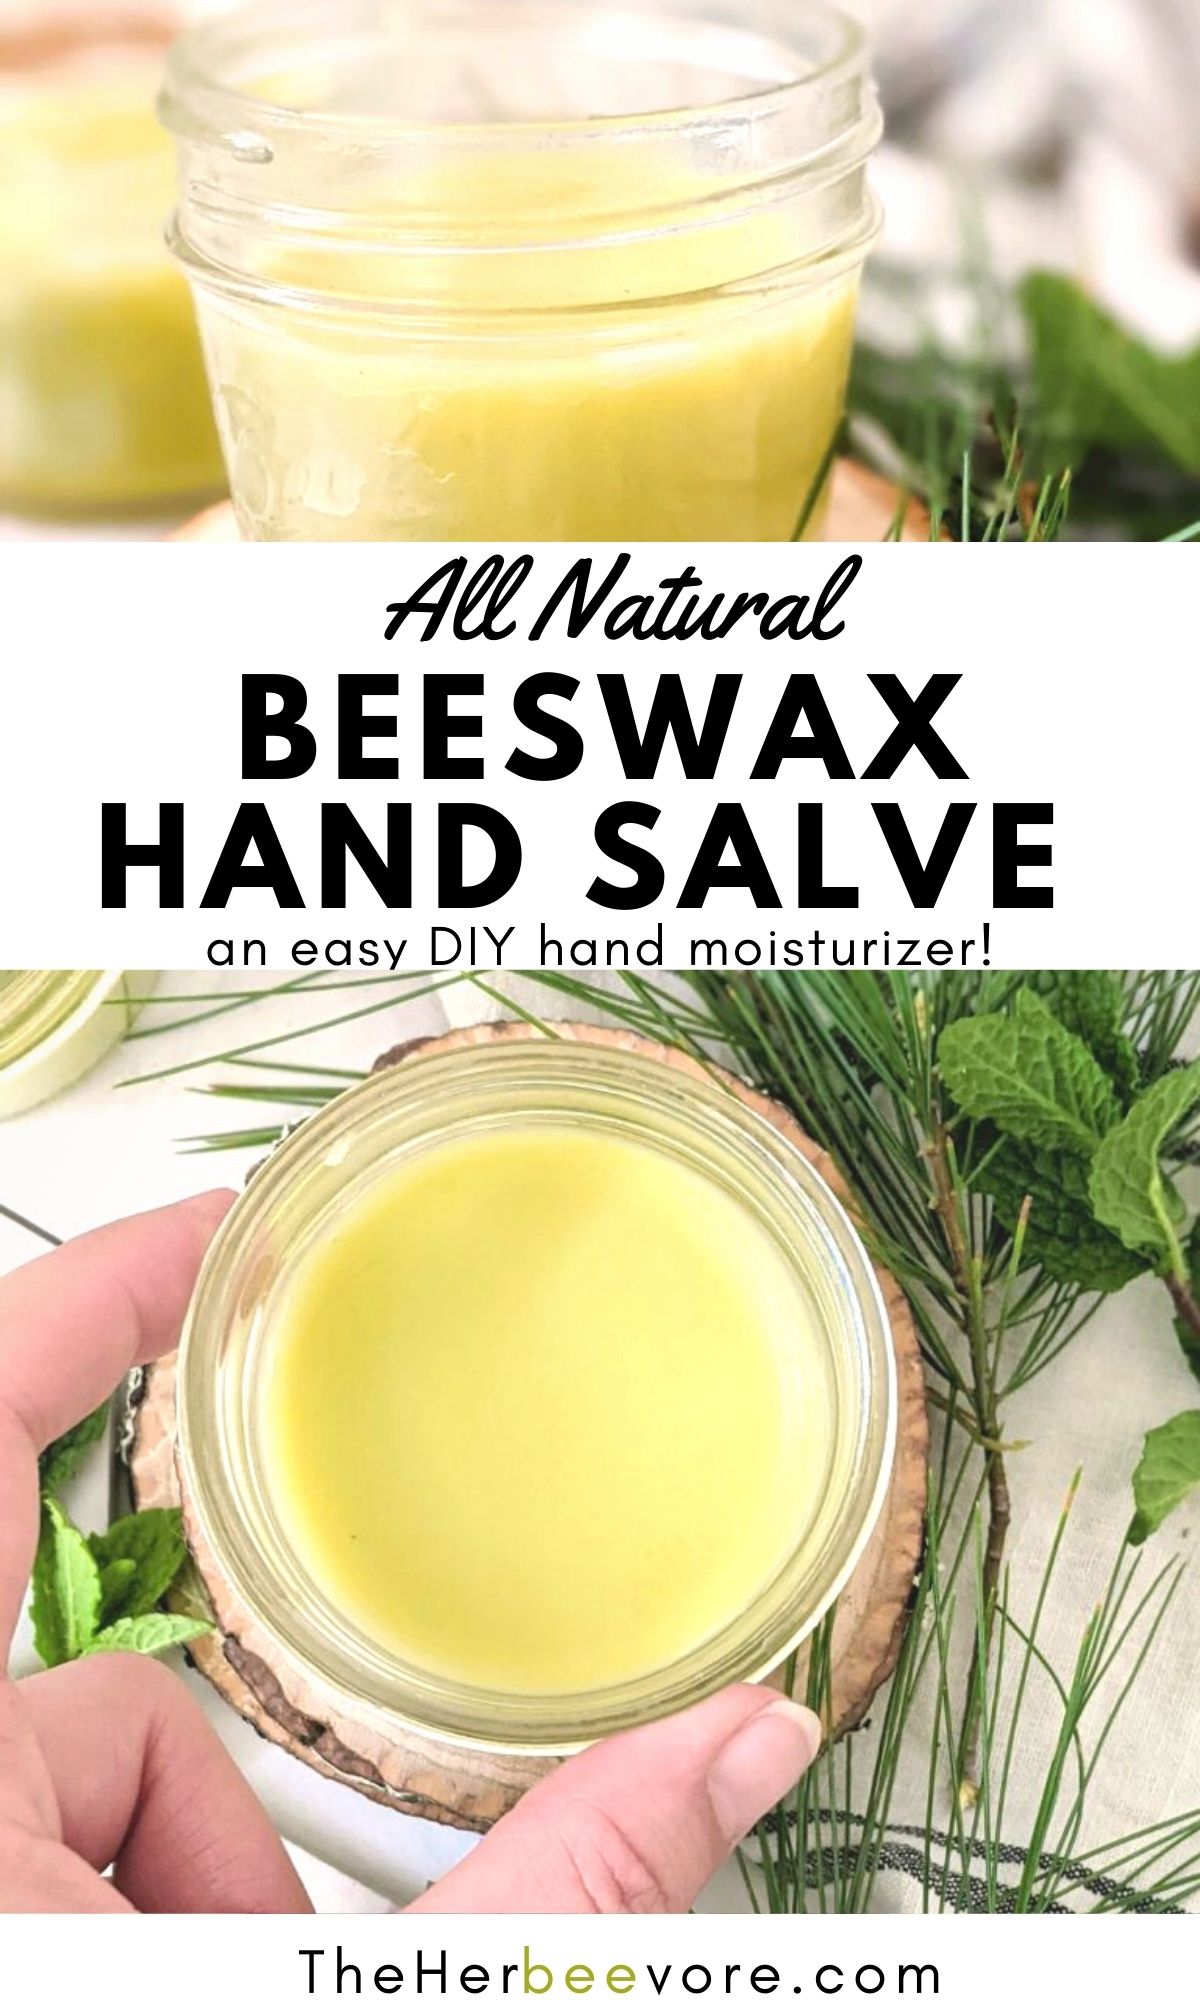
Gather these simple ingredients to make your beeswax hand salve:
- 1/4 cup beeswax pastilles
- 1/4 cup shea butter
- 1/4 cup coconut oil
- 1/4 cup olive oil (or any carrier oil of your choice)
- 10-15 drops of essential oil (like lavender or eucalyptus, for fragrance)
 Instructions to Make Your Salve:
Follow these steps to whip up your wonderful beeswax hand salve:
- Begin by preparing a double boiler. If you don’t have one, place a heatproof bowl over a pot of simmering water. Ensure that the bowl is not touching the water.
- In the bowl, combine the beeswax pastilles, shea butter, coconut oil, and olive oil. Stir continuously until everything is completely melted and well combined.
- Once melted, remove the bowl from the heat. Let it cool for a minute before adding your essential oils. Stir well to distribute the fragrance evenly throughout the mixture.
- Carefully pour the warm mixture into small containers or tins. Allow the salve to cool completely until it hardens. This may take a couple of hours.
- Your salve is ready to use once fully set! Simply apply a small amount to your hands and massage in gently. Enjoy the benefits of beautiful, moisturized skin!
Storing Your Salve
Make sure to store your beeswax hand salve in a cool, dry place. It should last for about six months to a year. You can also personalize this recipe by experimenting with different essential oils or adding other nourishing ingredients like vitamin E oil!
This DIY beeswax hand salve is not only an effective moisturizer but also makes for a fantastic gift. Get creative and share the joy of handmade skincare with friends and loved ones. Happy crafting!
source: theherbeevore.com